
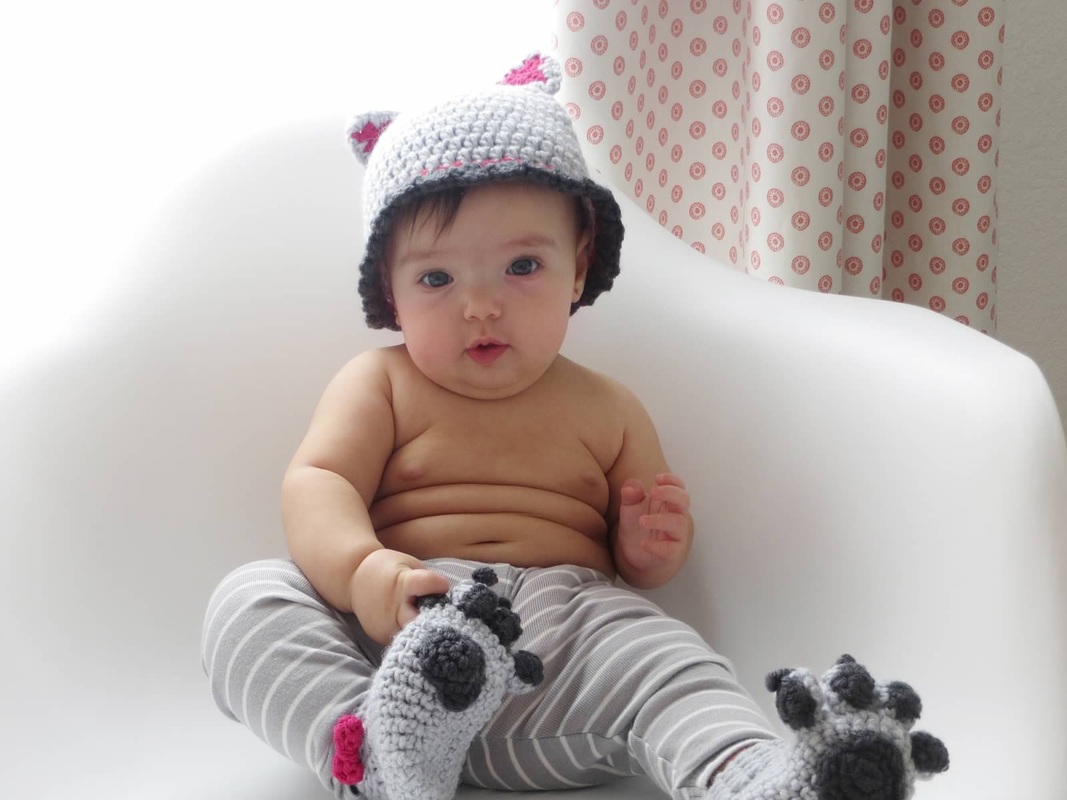
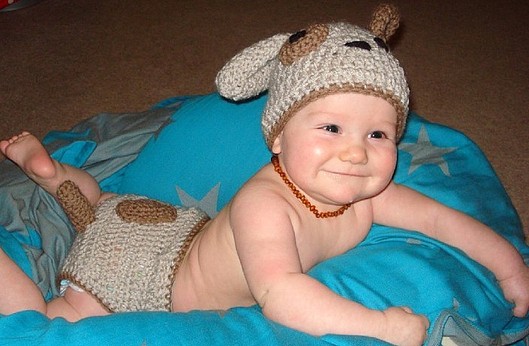
I am so pleased to finally have my grand baby posing in her wolf paws and hat! She is such a cutey and with this ensemble, she makes the outfit look rather cute!
I bought the bootie paw pattern on Etsy from Desert Diamond. This lady does fine work! I decided to make a hat to match and add a little pink bow on the sides of the paws to give it a girl wolf- like feel! I think she looks just gorgeous in this outfit! The pattern is pretty straight forward and I think that your little one would look wonderful in this as well. Below is a little sneak peek photo in her giraffe outfit. Of course, it is still a little big for her so when she can fully wear it, I will post more photos. She is soooo adorable that I cannot resist putting up pictures. So enjoy them!
I bought the bootie paw pattern on Etsy from Desert Diamond. This lady does fine work! I decided to make a hat to match and add a little pink bow on the sides of the paws to give it a girl wolf- like feel! I think she looks just gorgeous in this outfit! The pattern is pretty straight forward and I think that your little one would look wonderful in this as well. Below is a little sneak peek photo in her giraffe outfit. Of course, it is still a little big for her so when she can fully wear it, I will post more photos. She is soooo adorable that I cannot resist putting up pictures. So enjoy them!
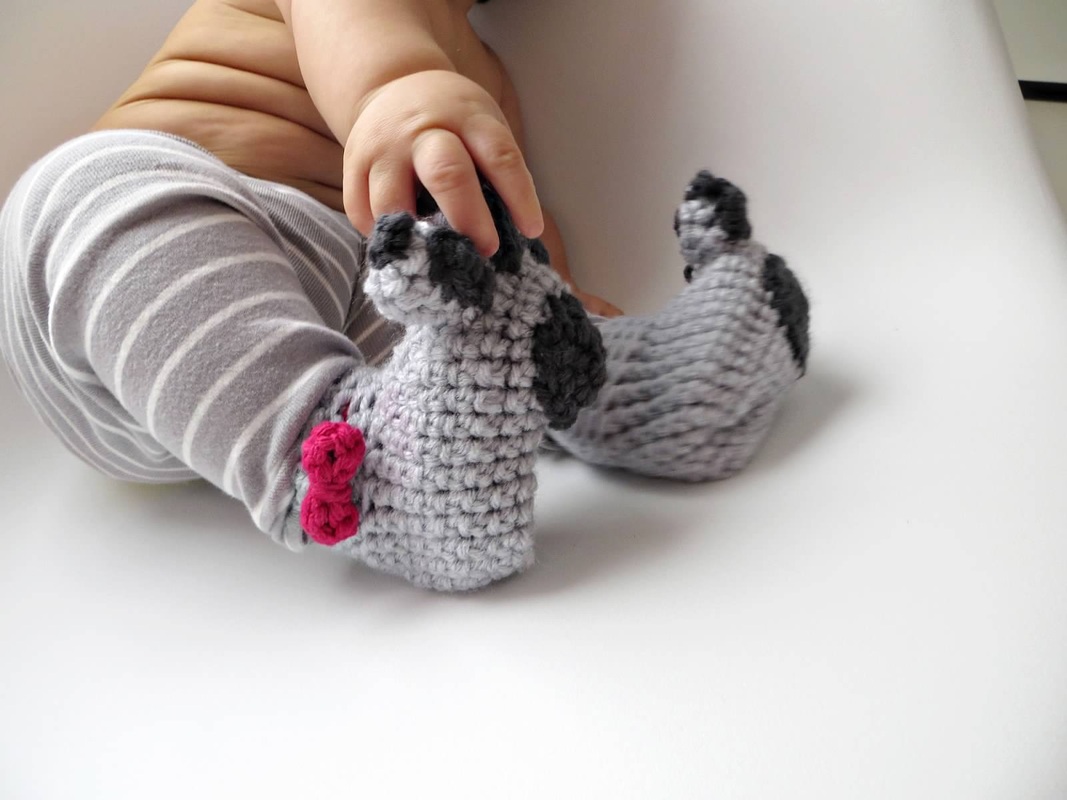
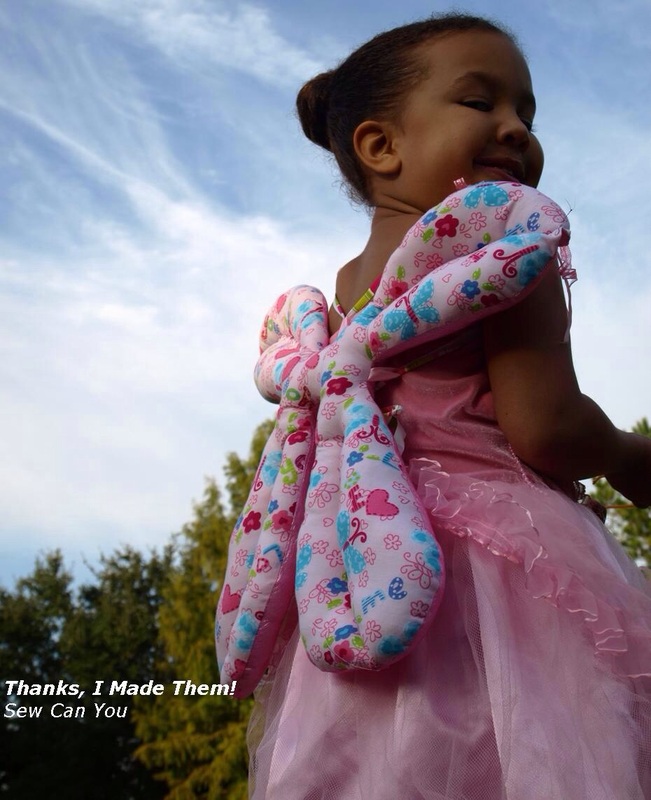
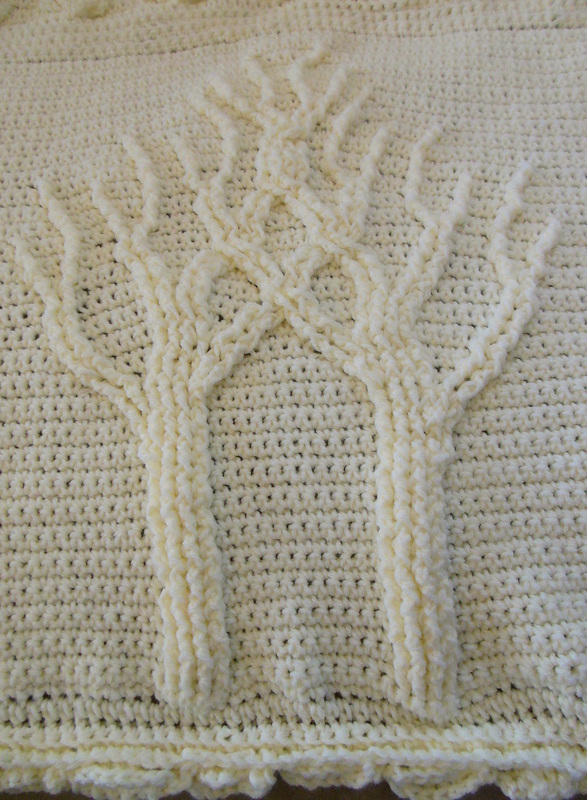
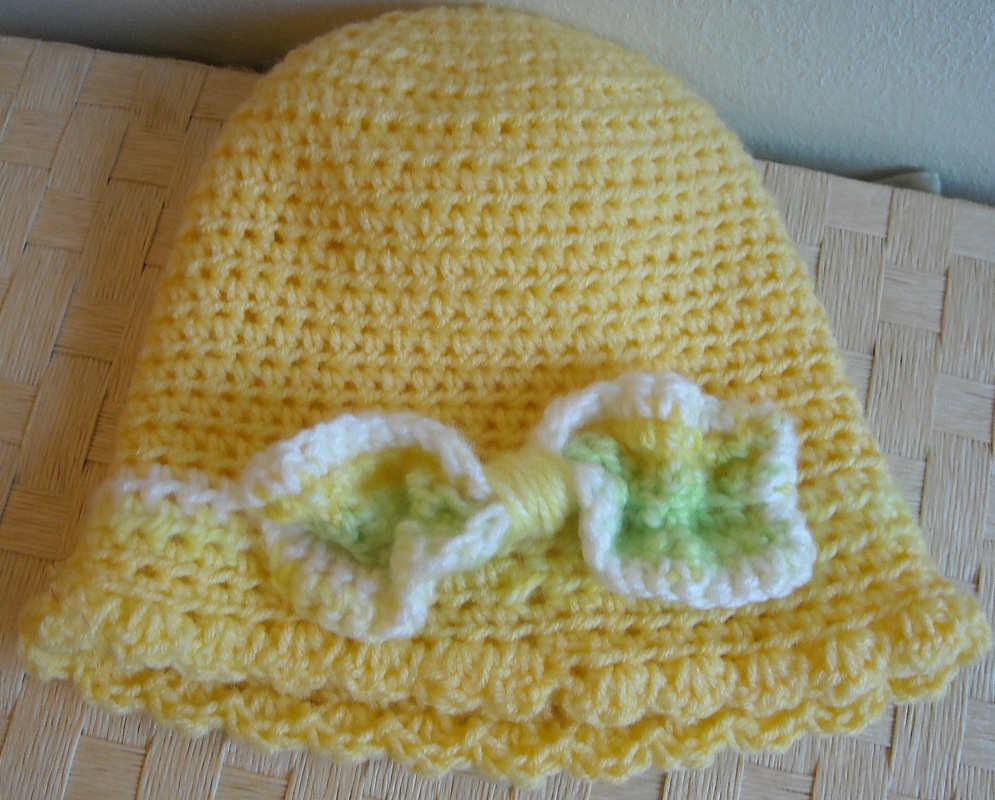
A close up of the paws and bow.
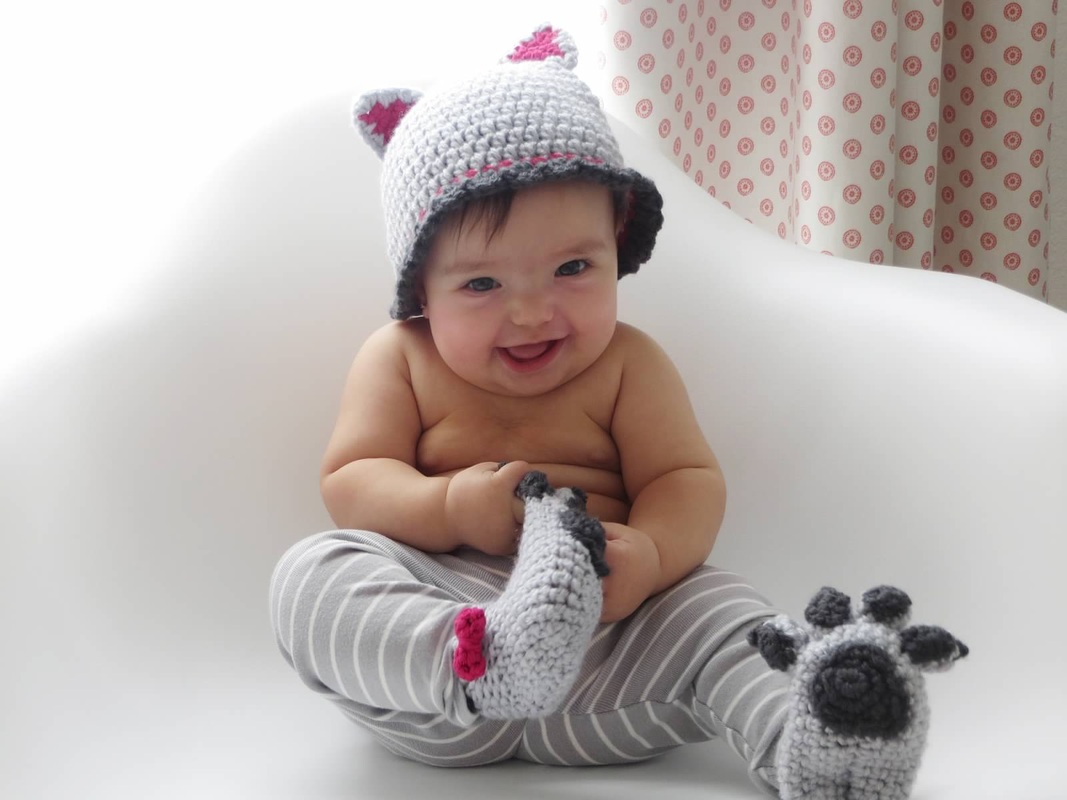
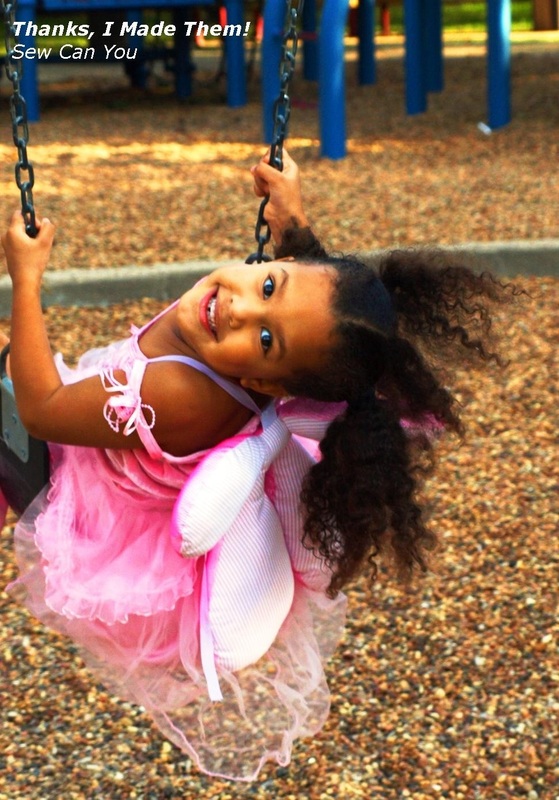
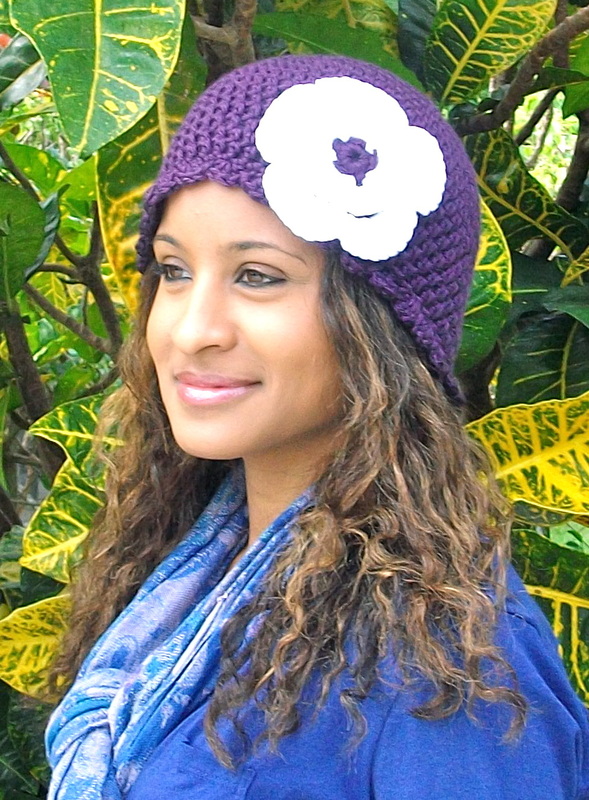
love this one!!
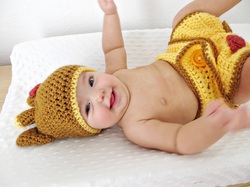
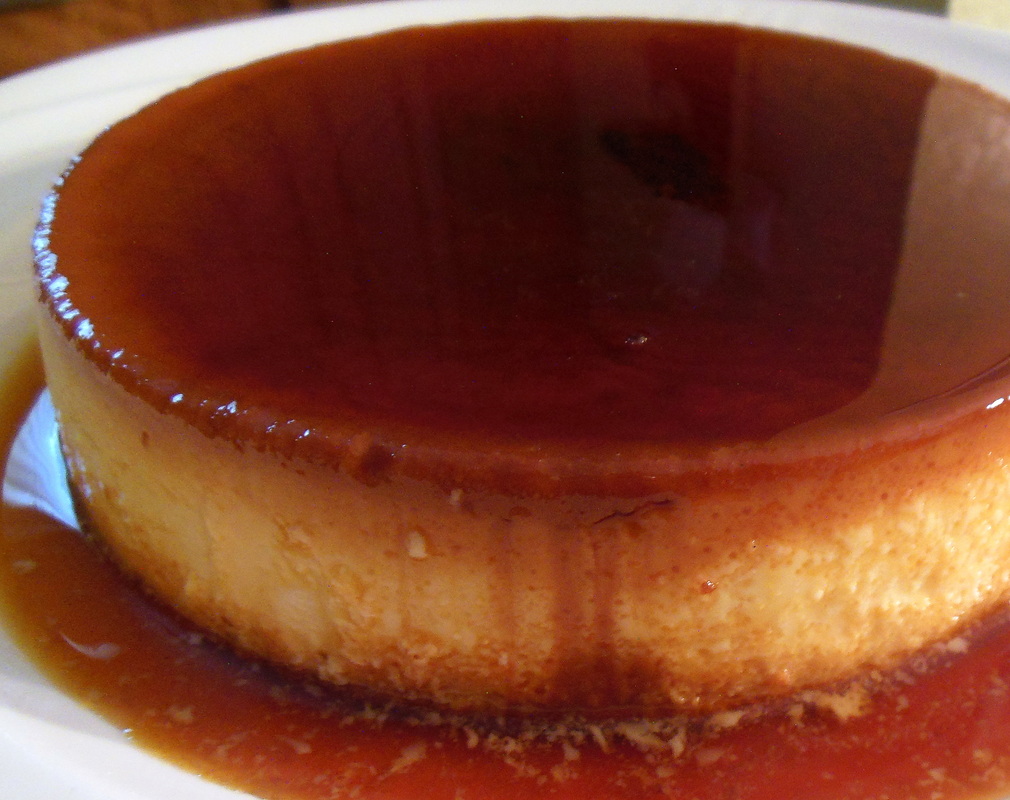
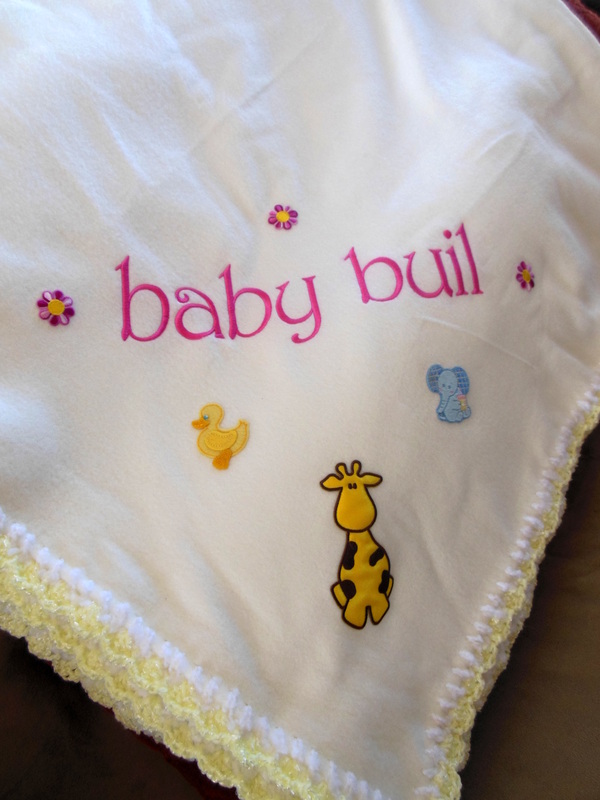
Sneak peek of the crocheted giraffe!


 RSS Feed
